
New!
How to Install Your Wall Decal
Follow these 4 simple steps to set up your new wall decal!
Or view our setup video.
New!
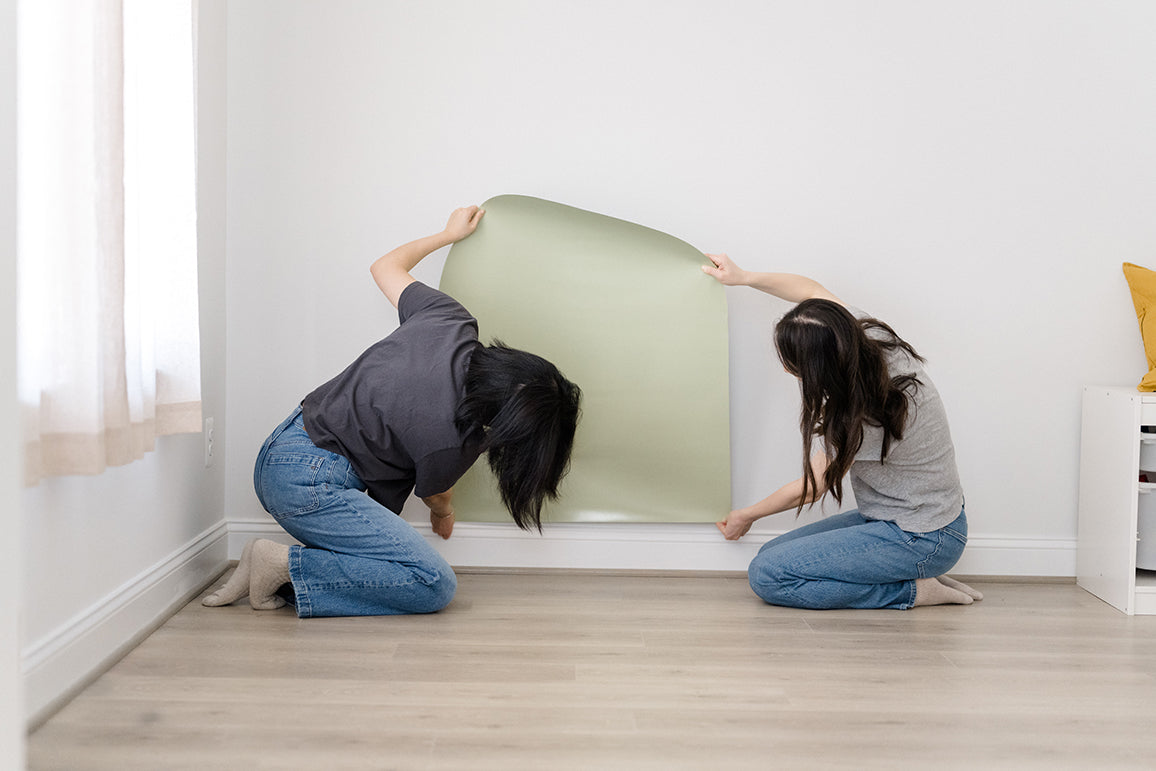
1. Prep
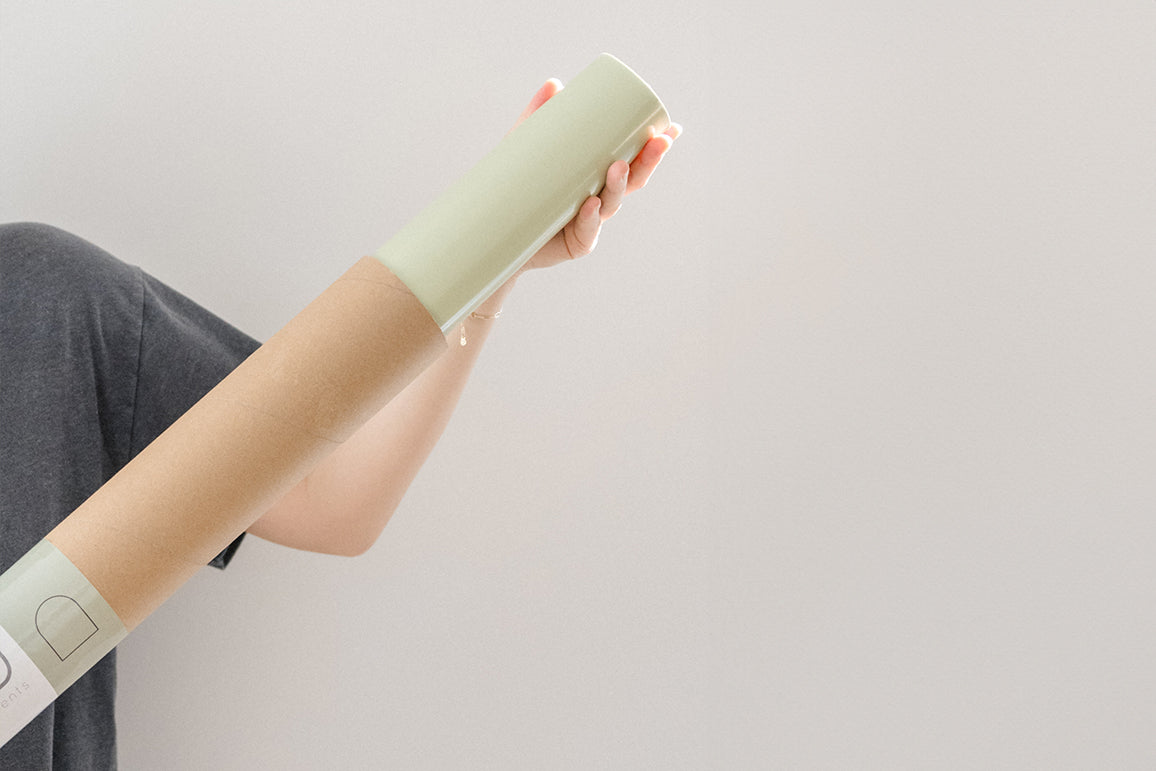
Smooth out any wrinkles from the rolled packaging by laying it flat on the floor for several hours.
New!
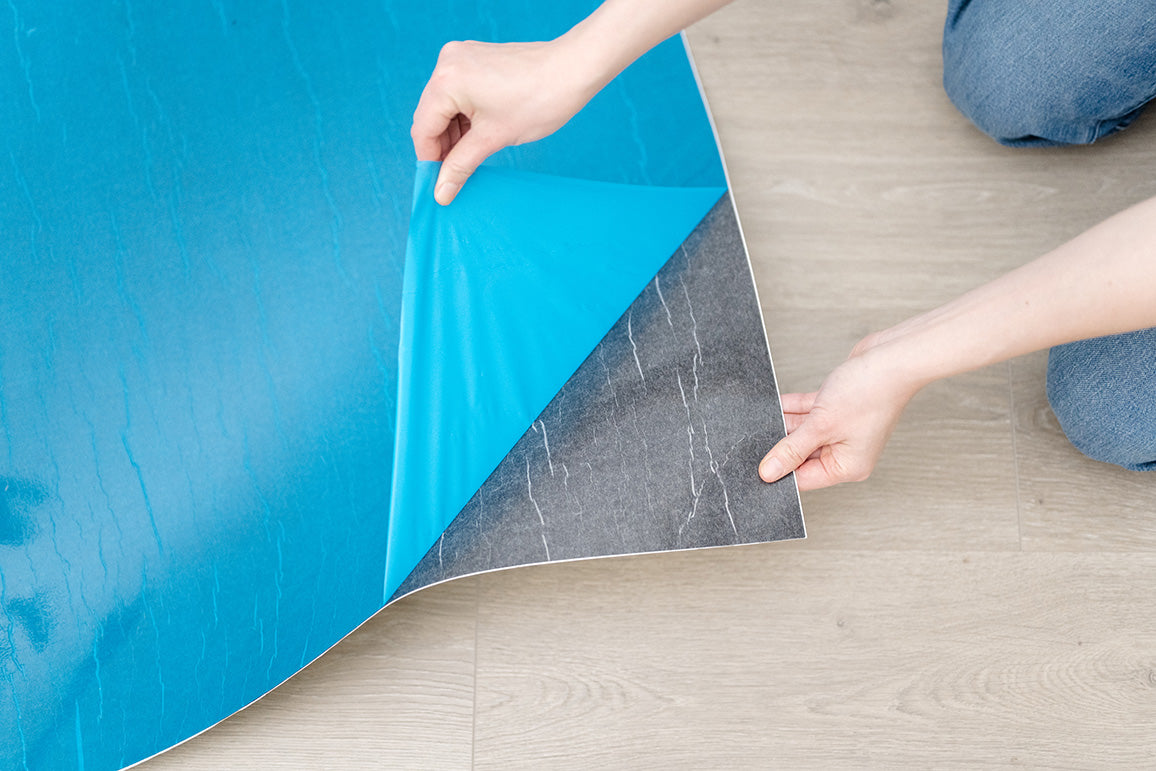
2. Peel
On the blue side, start by peeling off 12 inches of a bottom corner.
Then, position the decal to your desired placement.
New!
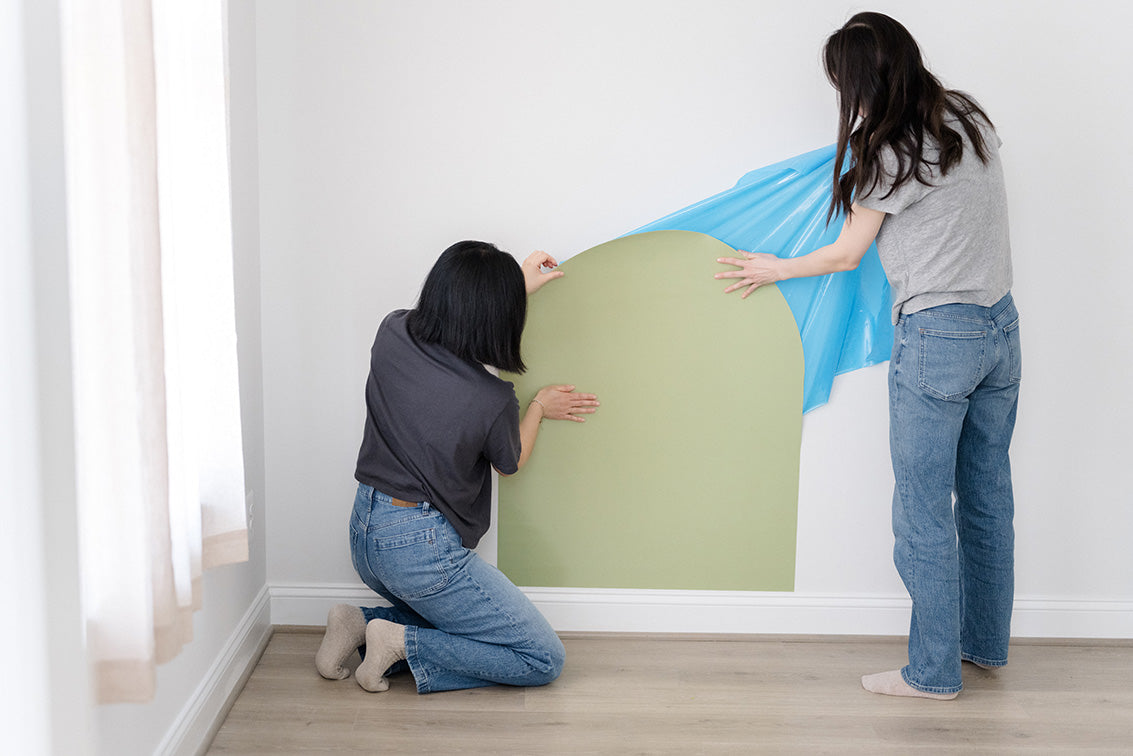
3. Press
From the peeled section, gently stick the decal on the surface and smooth it out as you press hard. Remove all the bubbles with a flat surfaced item.
Save the blue film cover in the original packaging for future storage.
---
Some Tips!
- We like to use a hard covered book to smooth out the bubbles.
- Our product is pressure sensitive, meaning the harder you press down, the stronger the adhesive gets!
New!
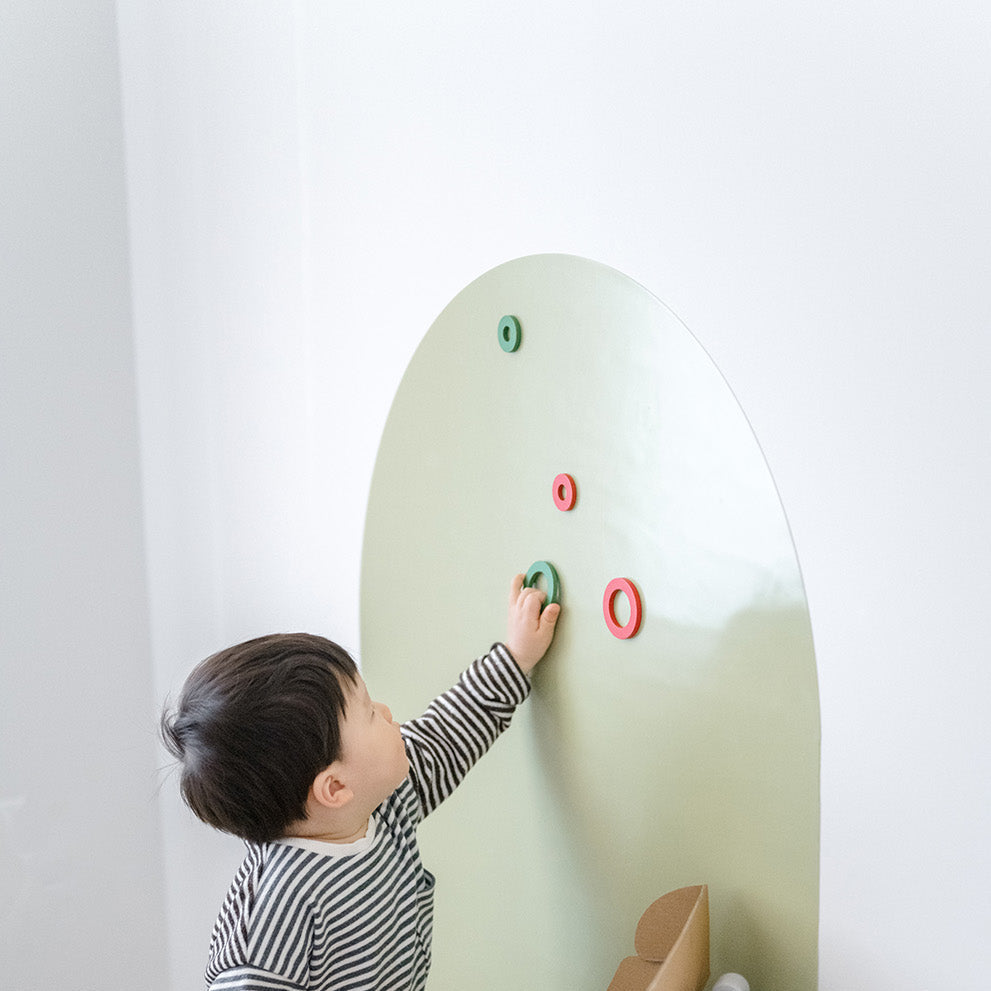
4. Have Fun
Start having fun with dry erase markers, liquid chalk pens, and magnets! Use a damp cloth or baby wipes to clean.
How to Use Our Extra Tape
New!
Application
- Stick the tape onto the edges of the decal as shown in the picture.
- Remove the protective liner from the tape.
- Apply the decal to a desired surface and press hard
New!
Removal
- Apply hot air (i.e. hair dryer) as you peel off the edges slowly at an acute angle.
- If there is any residue, try gently wiping with a warm, damp cloth.
You can watch this process here.